| Author |
Message |
loydb
Joined: Feb 04, 2010
Posts: 393
Location: Providence, RI
|
 Posted: Tue Sep 28, 2010 1:34 pm Post subject:
Ultimate Expandotron MFOS + hint of Buchla Photo Build Blog Posted: Tue Sep 28, 2010 1:34 pm Post subject:
Ultimate Expandotron MFOS + hint of Buchla Photo Build Blog
Subject description: A Custom 24-U Synth Build |
  |
|
My first build (see sig below) is now wrapped up except for a little glassblowing that is waiting on some ventilation work in my flame lair. The next one is quite a bit more ambitious.
The path of twisted logic that led me to this destination went roughly as follows:
Initially, I wanted to build an Ultimate to get something going more quickly than a full 5U cabinet of modules would take. Then I decided that I should build the Expander into the same cabinet, rather than building a separate one for it.
Then I decided that it would be cool to have the MFOS 16-step sequencer included as well rather than another separate box.
So I started arranging panels. If I put them side by side, it was wider than I liked. So I jammed the panels for the Ultimate and Expander together to make a 21" megapanel.
Putting the 16-step panel above them by itself looked funny -- so I suddenly had another huge chunk of panel space to fill. I thought about a second sequencer, but instead went on a PCB buying binge. I plan on doing a custom front panel the same size as the Ultimate + Expander panels that will contain all the other modules. This will be 24U (12U on each level).
The final cast is as follows:
MFOS Wall Wart Power Supply
MFOS Ultimate + Expander
MFOS 16-step sequencer
MFOS 8-stage Phaser
MFOS Stereo Panner
MFOS Voltage Quantifier
Buchla 292c clone filter
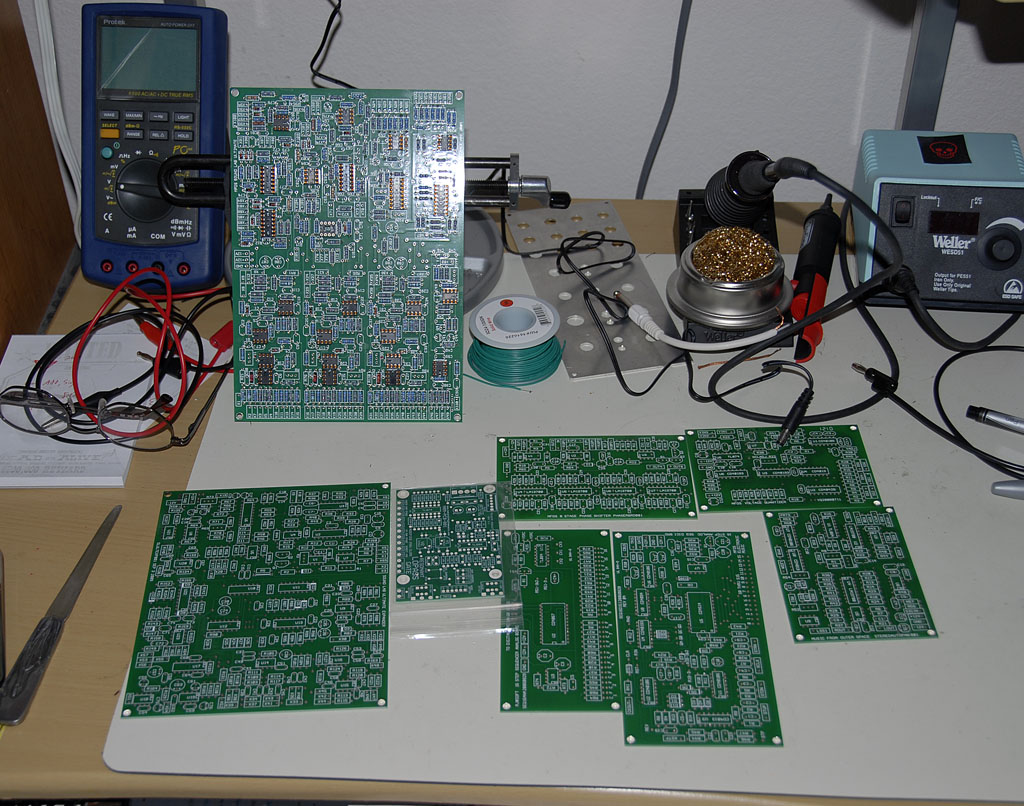
This will be pic heavy. You've been warned...
_________________
MFOS Ultimate Expand-o-tron Build Log: http://www.electro-music.com/forum/post-308797.html#308797
MFOS Mini-Controller Build Log [FINISHED!]: http://www.electro-music.com/forum/topic-42968.html |
|
|
Back to top
|
|
 |
loydb
Joined: Feb 04, 2010
Posts: 393
Location: Providence, RI
|
|
|
Back to top
|
|
 |
diablojoy

Joined: Sep 07, 2008
Posts: 809
Location: melbourne australia
Audio files: 11
|
 Posted: Tue Sep 28, 2010 4:19 pm Post subject: Posted: Tue Sep 28, 2010 4:19 pm Post subject:
|
  |
|
love the nicely figured walnut should come up a treat ! 
can't get walnut like that here anymore not for 10 years at least
no one brings it in anymore  |
|
|
Back to top
|
|
 |
loydb
Joined: Feb 04, 2010
Posts: 393
Location: Providence, RI
|
 Posted: Wed Sep 29, 2010 8:10 am Post subject: Posted: Wed Sep 29, 2010 8:10 am Post subject:
|
  |
|
Fortunately, it seems to be sustainably harvested here -- at least the board foot price hasn't been going up too much.
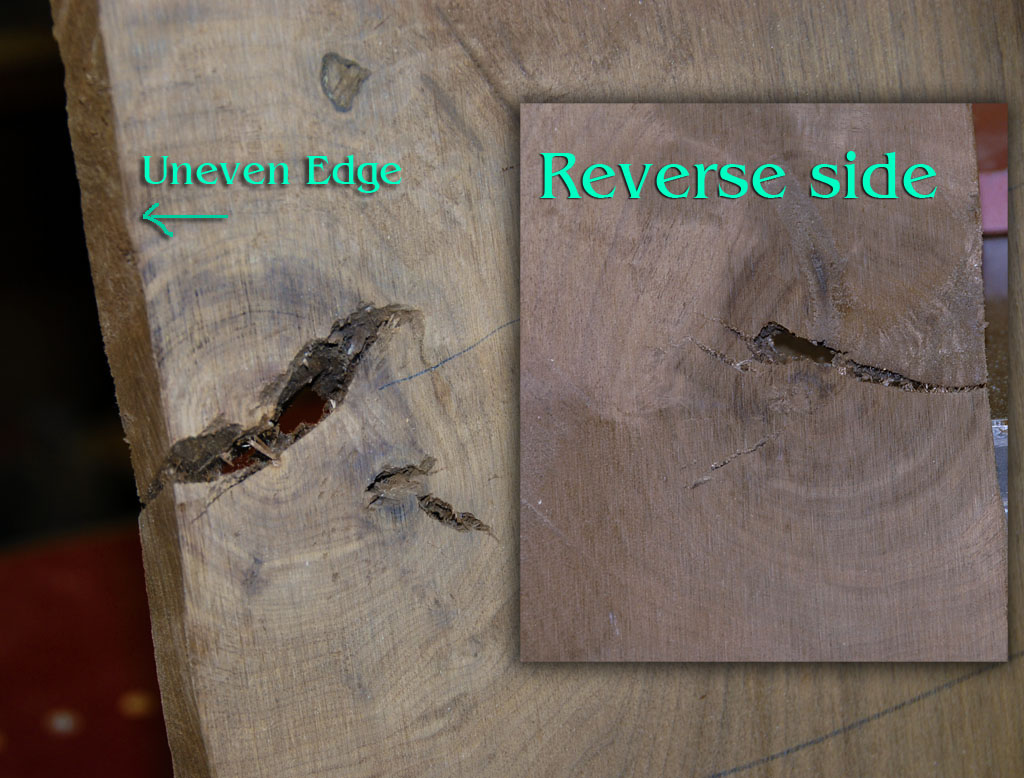
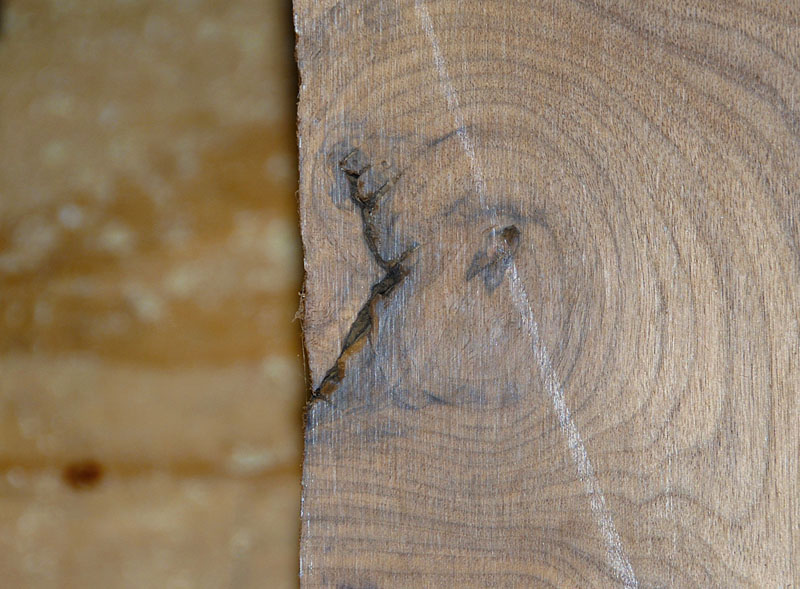
I love knots. Some people want nothing but clear wood, but I think they give the piece character. Unfortunately, they also cause a piece to come apart messily when using a jointer or planer on them (the blade 'grabs' the knot, or the edges around the voids). So the first thing I'm going to have to do is stabilize the wood so it can be surfaced.
Normally, I'd joint the rough edges smooth first thing, but as you'll see below, that would likely end badly.
_________________
MFOS Ultimate Expand-o-tron Build Log: http://www.electro-music.com/forum/post-308797.html#308797
MFOS Mini-Controller Build Log [FINISHED!]: http://www.electro-music.com/forum/topic-42968.html |
|
|
Back to top
|
|
 |
diablojoy

Joined: Sep 07, 2008
Posts: 809
Location: melbourne australia
Audio files: 11
|
 Posted: Wed Sep 29, 2010 5:42 pm Post subject: Posted: Wed Sep 29, 2010 5:42 pm Post subject:
|
  |
|
I agree i generally don't try to avoid what is normally described as faults
or shakes in timber prefering to keep them in. i use an epoxy to fill them usually died a solid black so they remain very visible . for very small cracks
i tend to go with a thick super glue and drop fill . i like your build blogs
its very interesting to see others work in progress, keep up the good work  |
|
|
Back to top
|
|
 |
loydb
Joined: Feb 04, 2010
Posts: 393
Location: Providence, RI
|
 Posted: Thu Sep 30, 2010 5:31 am Post subject: Posted: Thu Sep 30, 2010 5:31 am Post subject:
|
  |
|
Great minds, etc... 
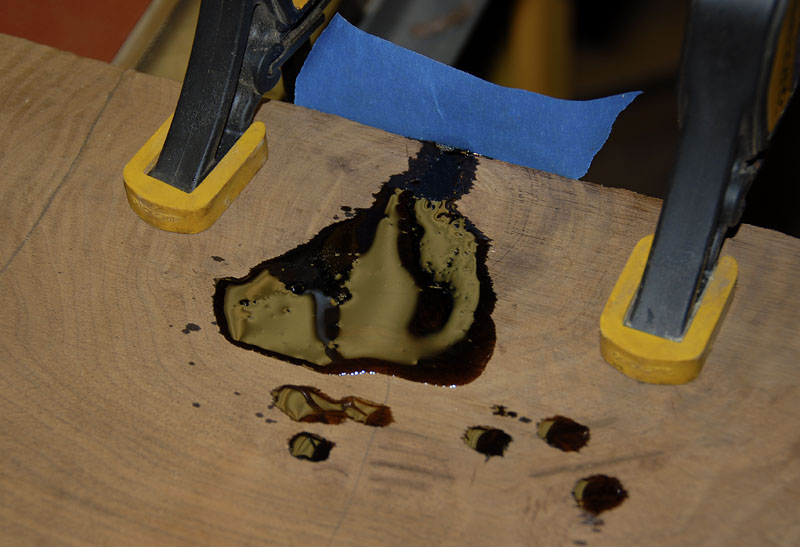
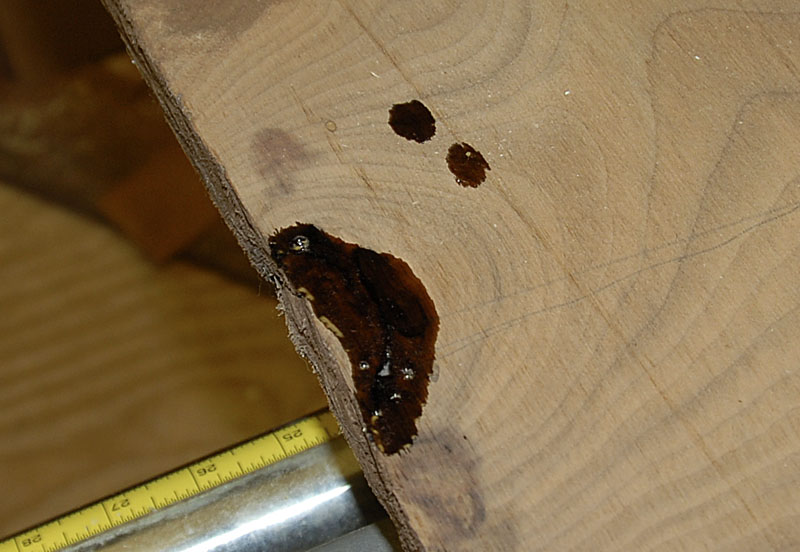
Here's my fix for knots in Walnut.
Slow-set two-part NON-SHRINKING (that's important) epoxy tinted with analine dye (1 drop is plenty, I use Dark Walnut color).
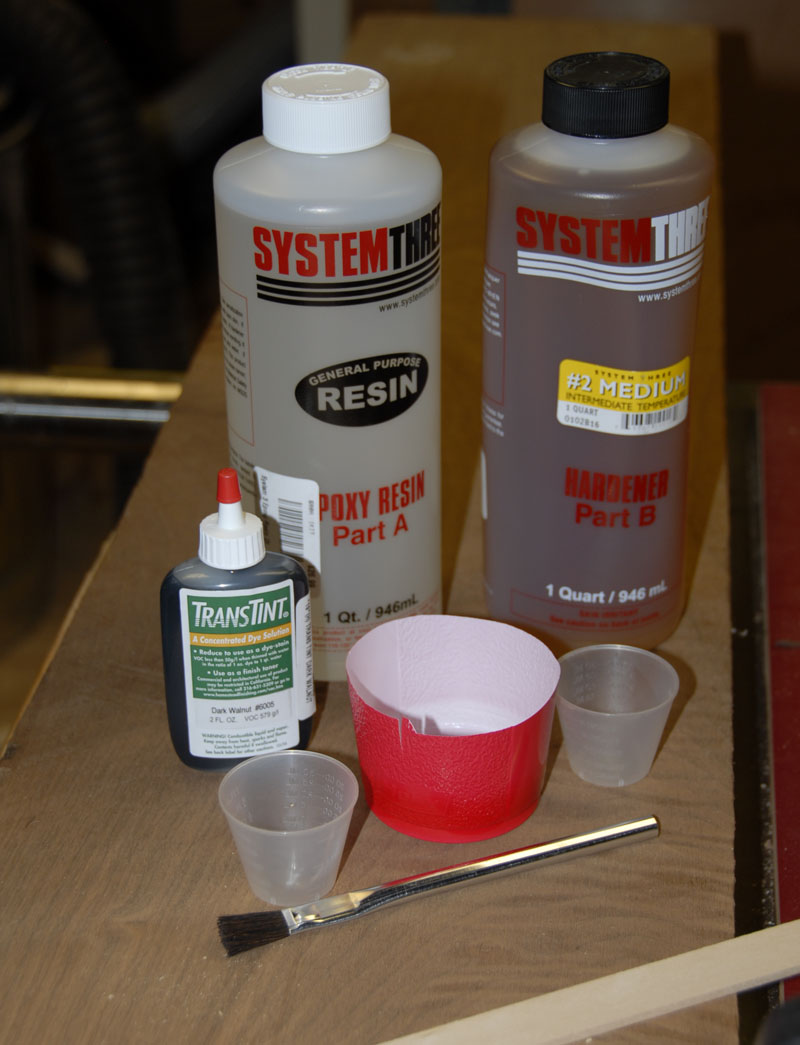
Because of the rough edge pointed out earlier, I know that it's going to take multiple passes -- the first one will hopefully stabilize the edge enough to be jointed.
I put blue painter's tape on the bottom and side (make a dam), and clamp it hard to another board to reduce the amount of seepage I get.
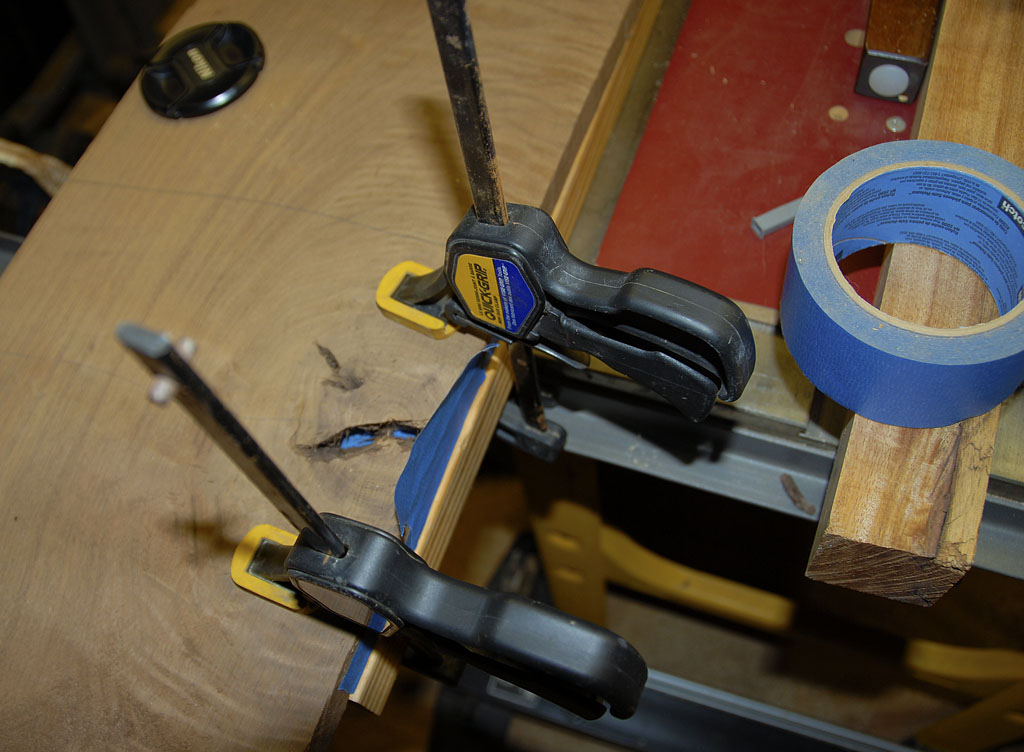
Mix the epoxy (1:1), plus a drop of the dye. It's nice and runny (to fill small gaps), and has an open time of around 30 minutes @ 77 degrees F.
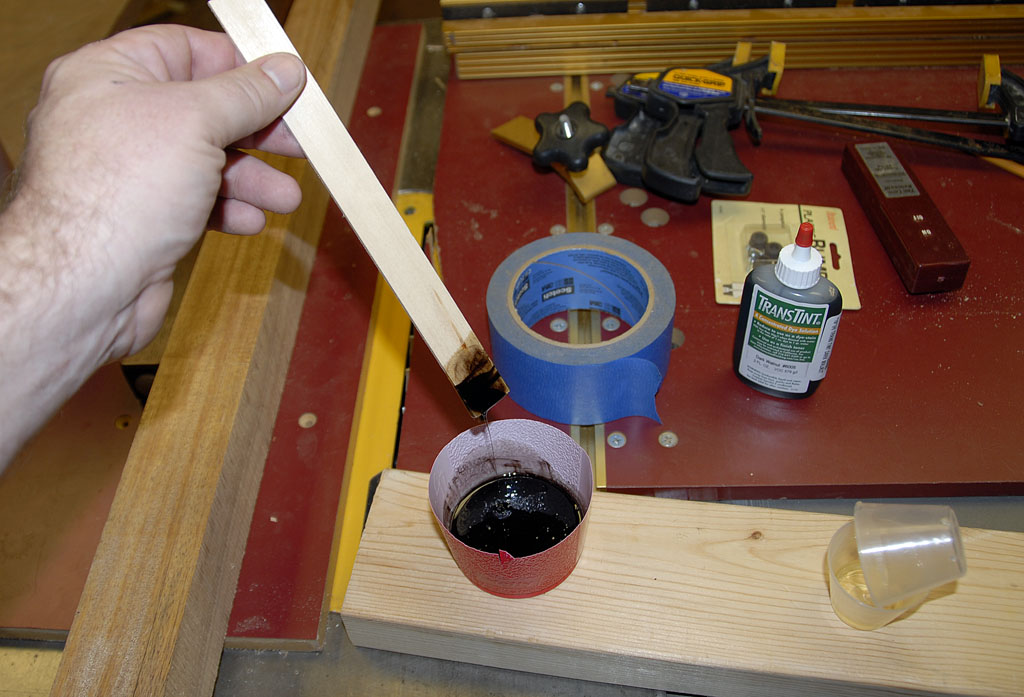
Pour some in, let it settle.
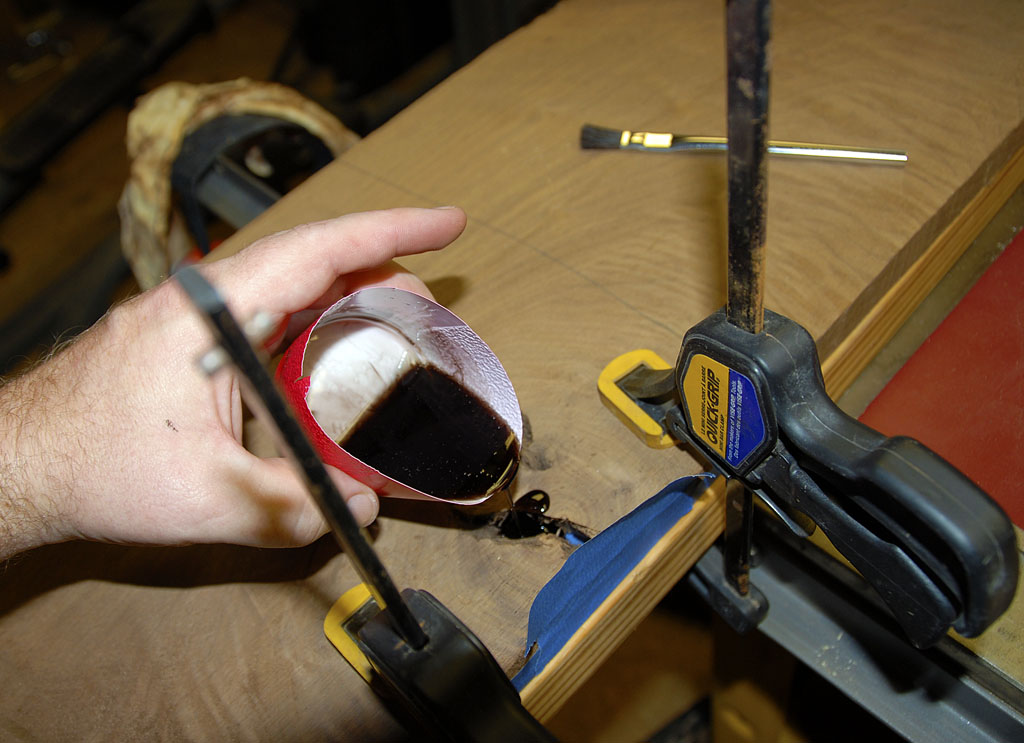
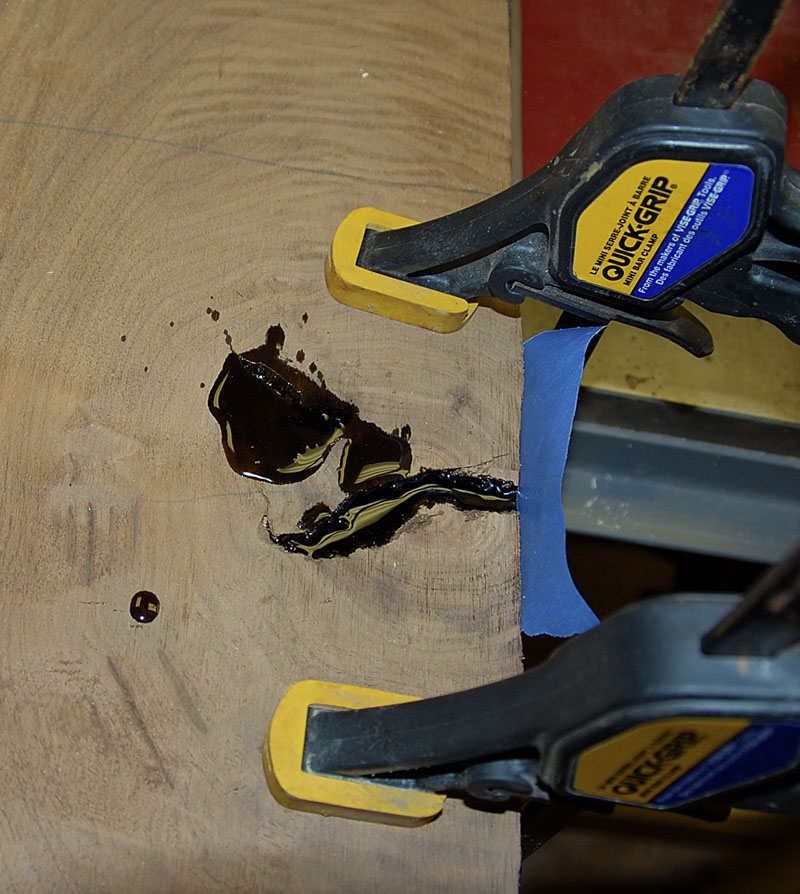
Keep topping off. Let it cure overnight.
_________________
MFOS Ultimate Expand-o-tron Build Log: http://www.electro-music.com/forum/post-308797.html#308797
MFOS Mini-Controller Build Log [FINISHED!]: http://www.electro-music.com/forum/topic-42968.html |
|
|
Back to top
|
|
 |
loydb
Joined: Feb 04, 2010
Posts: 393
Location: Providence, RI
|
 Posted: Fri Oct 01, 2010 8:05 am Post subject: Posted: Fri Oct 01, 2010 8:05 am Post subject:
|
  |
|
So, as expected with the rough edge, a bunch of the epoxy seeped into the side.
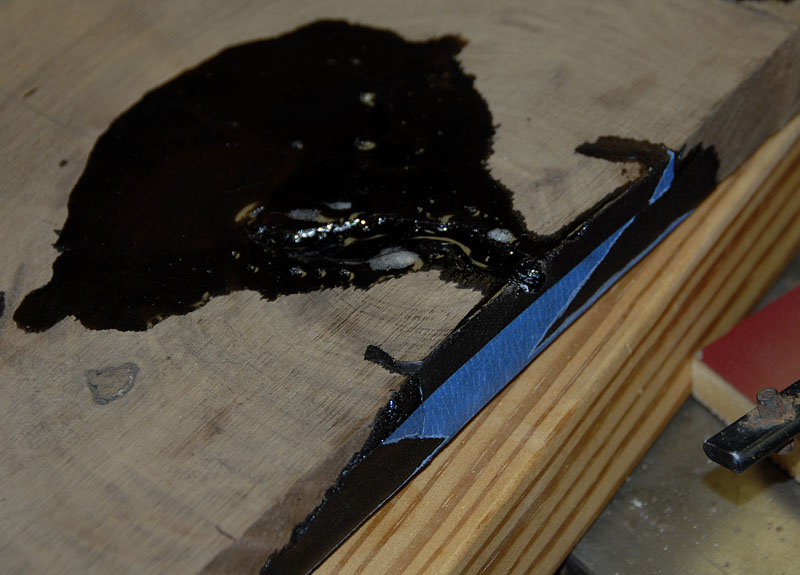
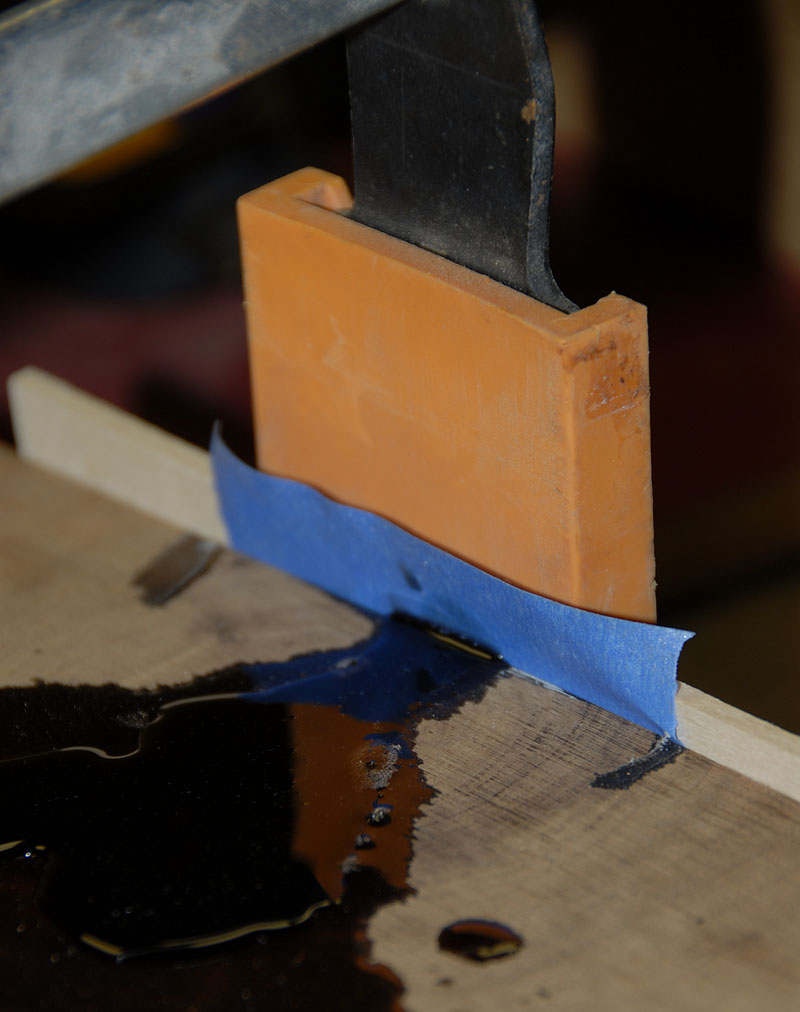
It *did* stabilize things enough that I could joint the edge, giving me a smooth surface for the next round of epoxy. For this second round, I clamped a piece of scrap behind the tape to make a stronger dam.
_________________
MFOS Ultimate Expand-o-tron Build Log: http://www.electro-music.com/forum/post-308797.html#308797
MFOS Mini-Controller Build Log [FINISHED!]: http://www.electro-music.com/forum/topic-42968.html |
|
|
Back to top
|
|
 |
loydb
Joined: Feb 04, 2010
Posts: 393
Location: Providence, RI
|
|
|
Back to top
|
|
 |
loydb
Joined: Feb 04, 2010
Posts: 393
Location: Providence, RI
|
 Posted: Tue Oct 05, 2010 5:23 am Post subject: Posted: Tue Oct 05, 2010 5:23 am Post subject:
|
  |
|
More pics later today, but after working on the panel layout, I've decided to eliminate the voltage quantizer and go with a second 292c -- that will let me build one with fast vactrols and one with slow.
I've also decided to build two cases -- I can use the second one to start my 5U collection when I'm done with this build. I've got some nice birdseye Maple -- I'll do one as Walnut with Maple drawers, and the other the reverse.
_________________
MFOS Ultimate Expand-o-tron Build Log: http://www.electro-music.com/forum/post-308797.html#308797
MFOS Mini-Controller Build Log [FINISHED!]: http://www.electro-music.com/forum/topic-42968.html |
|
|
Back to top
|
|
 |
loydb
Joined: Feb 04, 2010
Posts: 393
Location: Providence, RI
|
 Posted: Wed Oct 06, 2010 11:39 am Post subject: Posted: Wed Oct 06, 2010 11:39 am Post subject:
|
  |
|
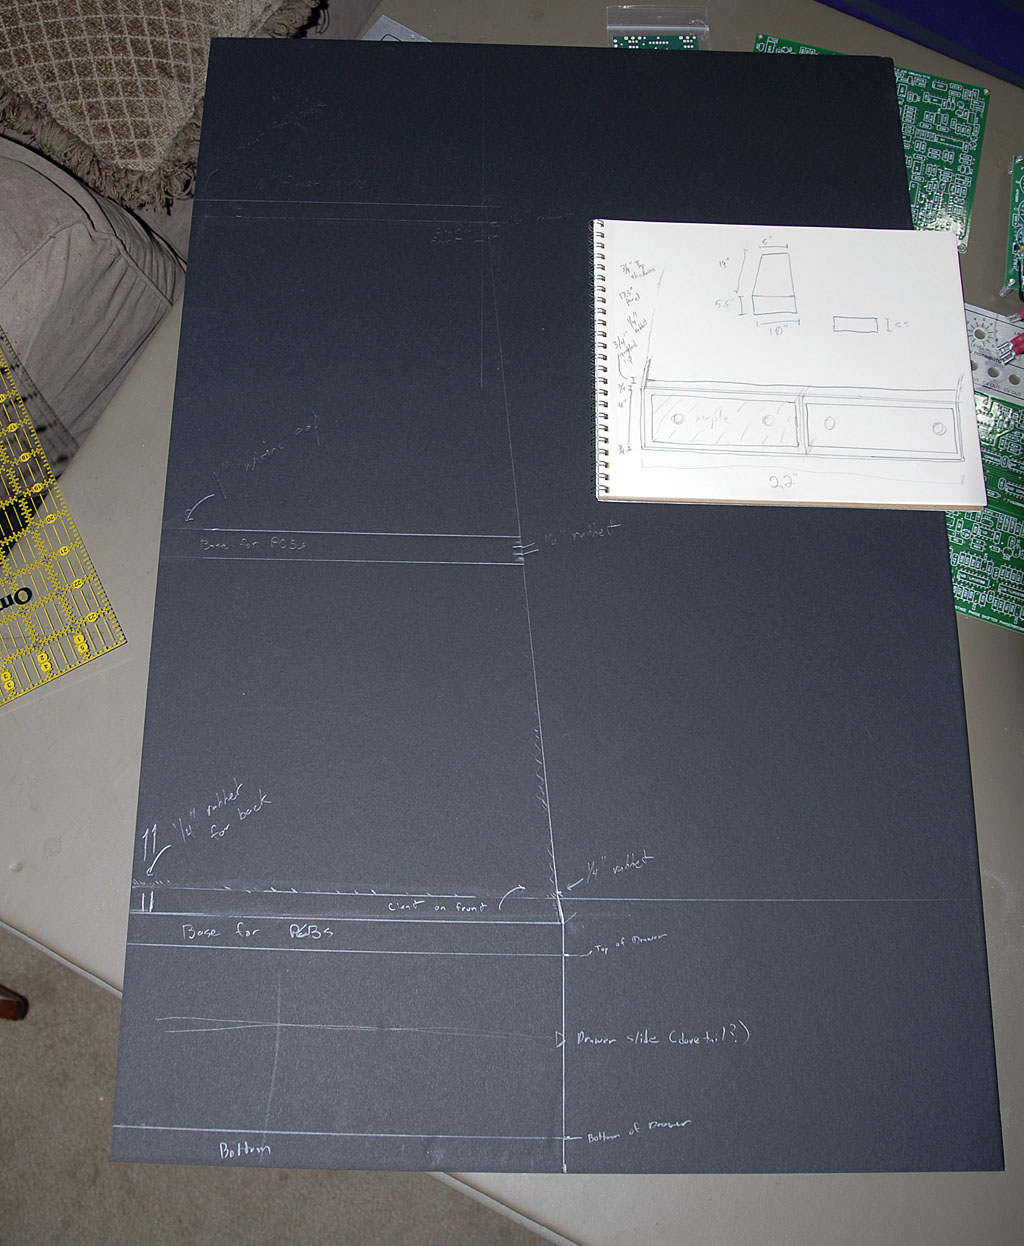
If you followed my calibrator build, you know I'm a fan of foamcore. Black foamcore is my layout tool of choice -- it's already square, and pencil writes and erases on it really well. It lets me do life-size drawings and test component arrangements.
This is my initial sketch (on paper) and my layout. After remeasuring the boards I'm using, I ended up shrinking the width at the top from 8" to 7".
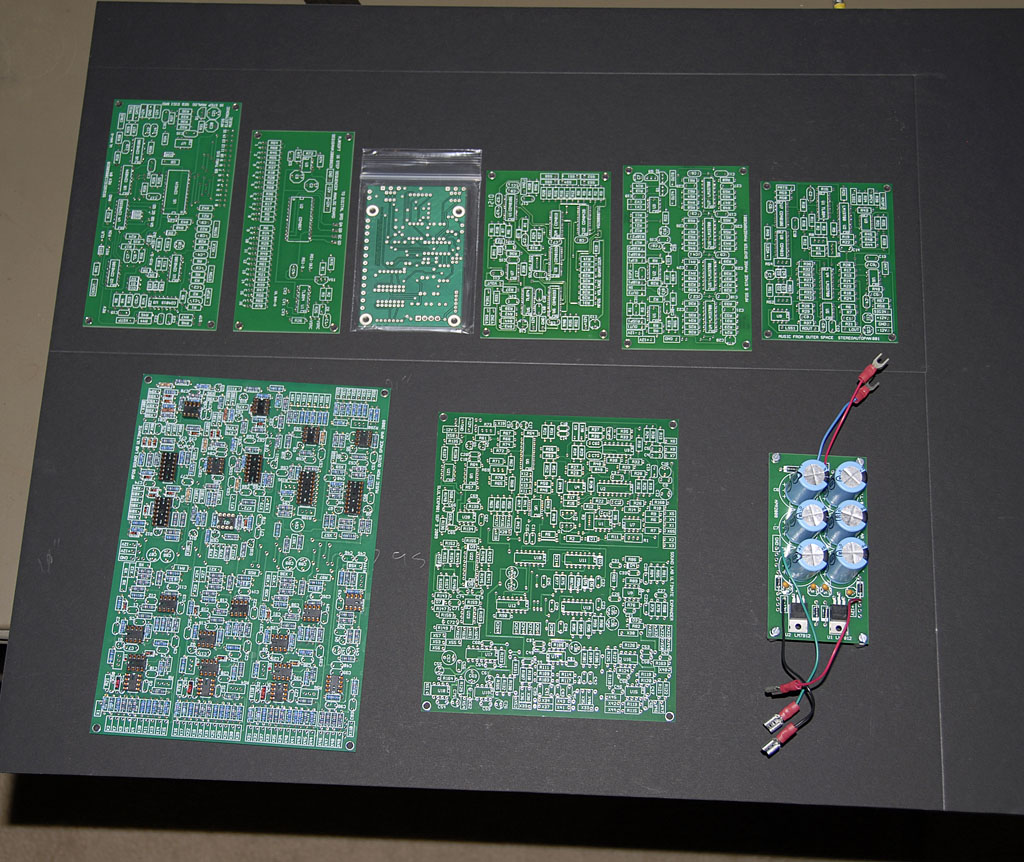
This shows the layout of the PCBs -- I wanted to make sure there would be enough space for all of them (I've since swapped the quantizer with another 292c filter).
_________________
MFOS Ultimate Expand-o-tron Build Log: http://www.electro-music.com/forum/post-308797.html#308797
MFOS Mini-Controller Build Log [FINISHED!]: http://www.electro-music.com/forum/topic-42968.html |
|
|
Back to top
|
|
 |
loydb
Joined: Feb 04, 2010
Posts: 393
Location: Providence, RI
|
|
|
Back to top
|
|
 |
v-un-v
Janitor


Joined: May 16, 2005
Posts: 8932
Location: Birmingham, England, UK
Audio files: 11
G2 patch files: 1
|
 Posted: Fri Oct 08, 2010 5:56 am Post subject: Posted: Fri Oct 08, 2010 5:56 am Post subject:
|
  |
|
What a lovely bit of wood! 
Looks lovely. Keep up the good work!
Tom
_________________
ACHTUNG!
ALLES TURISTEN UND NONTEKNISCHEN LOOKENPEEPERS!
DAS KOMPUTERMASCHINE IST NICHT FÜR DER GEFINGERPOKEN UND MITTENGRABEN! ODERWISE IST EASY TO SCHNAPPEN DER SPRINGENWERK, BLOWENFUSEN UND POPPENCORKEN MIT SPITZENSPARKSEN.
IST NICHT FÜR GEWERKEN BEI DUMMKOPFEN. DER RUBBERNECKEN SIGHTSEEREN KEEPEN DAS COTTONPICKEN HÄNDER IN DAS POCKETS MUSS.
ZO RELAXEN UND WATSCHEN DER BLINKENLICHTEN. |
|
|
Back to top
|
|
 |
diablojoy

Joined: Sep 07, 2008
Posts: 809
Location: melbourne australia
Audio files: 11
|
 Posted: Sat Oct 09, 2010 11:12 pm Post subject: Posted: Sat Oct 09, 2010 11:12 pm Post subject:
|
  |
|
ah birdseye maple my all time favourite timber, will be a great contrast to that walnut  |
|
|
Back to top
|
|
 |
loydb
Joined: Feb 04, 2010
Posts: 393
Location: Providence, RI
|
 Posted: Tue Oct 12, 2010 7:45 am Post subject: Posted: Tue Oct 12, 2010 7:45 am Post subject:
|
  |
|
Yeah, I love birdseye maple. Machining it down to thickness sucks though, it likes to tearout.
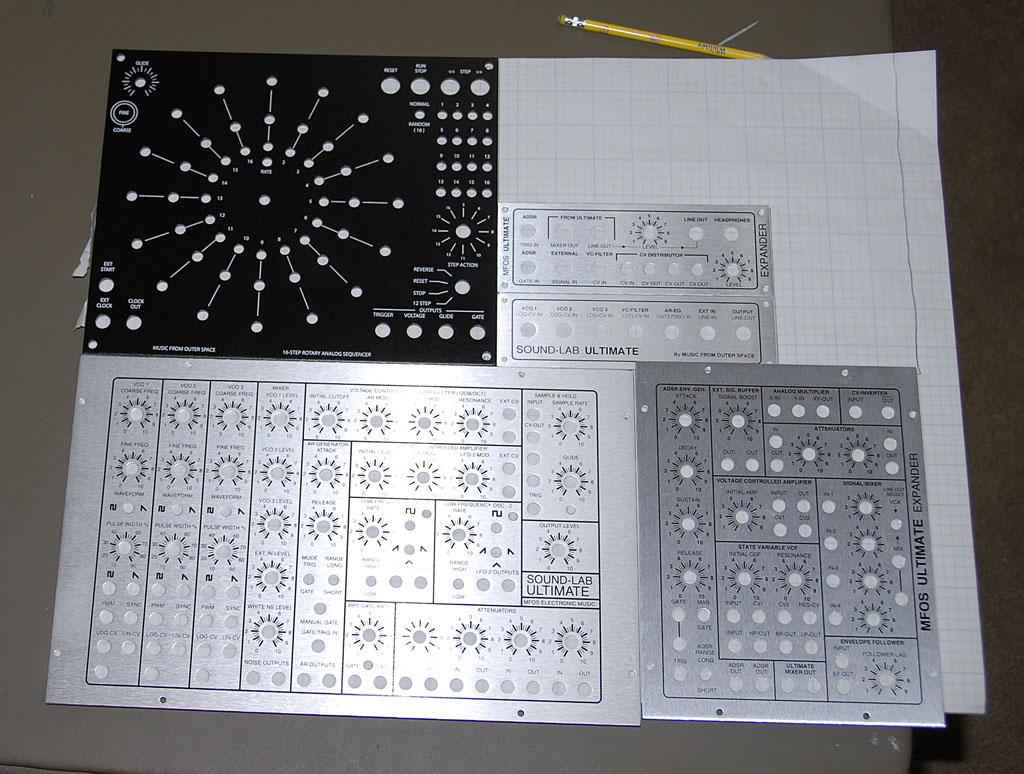
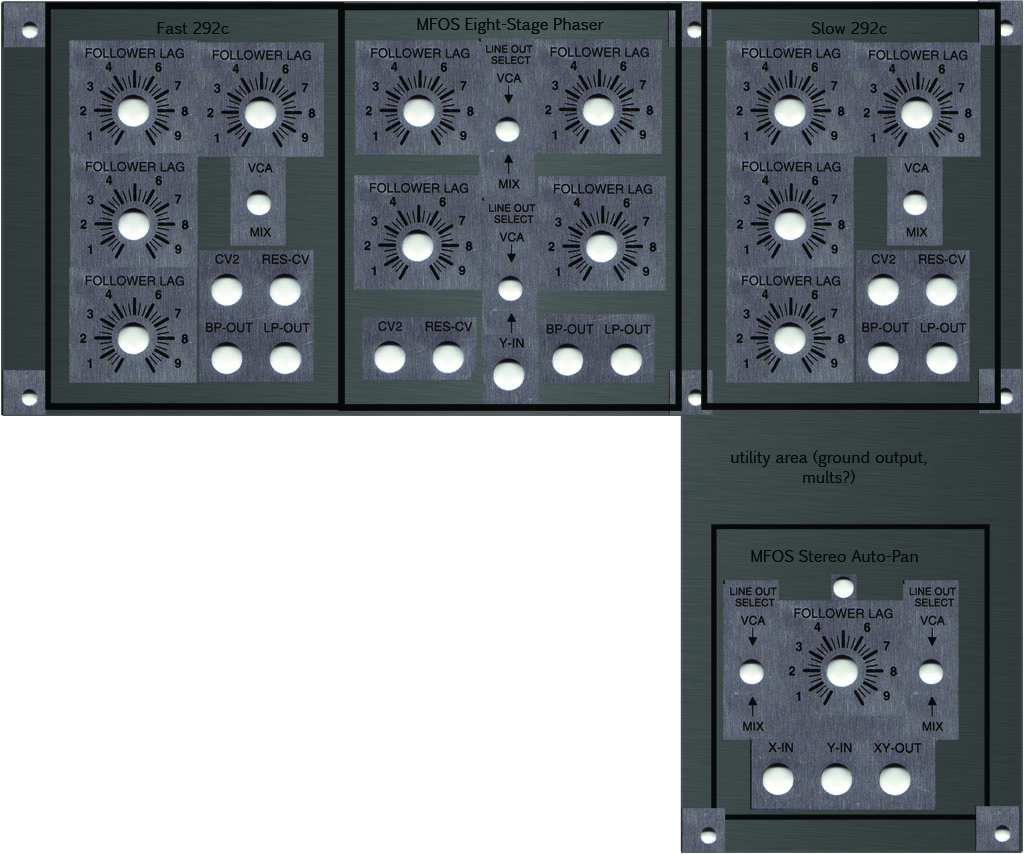
Here's how the front panel is going to end up playing out. The second picture is my Photoshop mockup using a scan of the Expander front panel to get component size/spacing correct. Obviously, the labels are wrong, but the number/type of controls is correct for each module.
I created the shape in Illustrator and imported the resulting DXF into FPD Express. The next step is actually laying it out in FPD.
_________________
MFOS Ultimate Expand-o-tron Build Log: http://www.electro-music.com/forum/post-308797.html#308797
MFOS Mini-Controller Build Log [FINISHED!]: http://www.electro-music.com/forum/topic-42968.html |
|
|
Back to top
|
|
 |
ashleym
Joined: Aug 20, 2009
Posts: 181
Location: uk
|
 Posted: Tue Oct 12, 2010 7:59 am Post subject: Posted: Tue Oct 12, 2010 7:59 am Post subject:
|
  |
|
| I have got some FDP/Shaeffer files for the Ultimate, Expander and sequencer (I think) I can share with you if it's any help? I have made a couple of panel changes and additions but it could be a starting point. |
|
|
Back to top
|
|
 |
loydb
Joined: Feb 04, 2010
Posts: 393
Location: Providence, RI
|
|
|
Back to top
|
|
 |
ashleym
Joined: Aug 20, 2009
Posts: 181
Location: uk
|
|
|
Back to top
|
|
 |
ashleym
Joined: Aug 20, 2009
Posts: 181
Location: uk
|
 Posted: Tue Oct 12, 2010 8:17 am Post subject: Posted: Tue Oct 12, 2010 8:17 am Post subject:
|
  |
|
some more
| Description: |
|

Download (listen) |
| Filename: |
expander FP.fpd |
| Filesize: |
2.64 KB |
| Downloaded: |
973 Time(s) |
| Description: |
|

Download (listen) |
| Filename: |
expander FP.fpd |
| Filesize: |
2.64 KB |
| Downloaded: |
999 Time(s) |
|
|
|
Back to top
|
|
 |
ashleym
Joined: Aug 20, 2009
Posts: 181
Location: uk
|
 Posted: Tue Oct 12, 2010 8:20 am Post subject: Posted: Tue Oct 12, 2010 8:20 am Post subject:
|
  |
|
Some sequencer layouts. FPD is easy to use and you will be able to change the colour and typefaces etc
| Description: |
|

Download (listen) |
| Filename: |
seq round FP1.fpd |
| Filesize: |
3.47 KB |
| Downloaded: |
1019 Time(s) |
| Description: |
|

Download (listen) |
| Filename: |
seq round FP2.fpd |
| Filesize: |
2.57 KB |
| Downloaded: |
987 Time(s) |
| Description: |
|

Download (listen) |
| Filename: |
seq round FP3.fpd |
| Filesize: |
1.99 KB |
| Downloaded: |
979 Time(s) |
|
|
|
Back to top
|
|
 |
loydb
Joined: Feb 04, 2010
Posts: 393
Location: Providence, RI
|
|
|
Back to top
|
|
 |
loydb
Joined: Feb 04, 2010
Posts: 393
Location: Providence, RI
|
|
|
Back to top
|
|
 |
loydb
Joined: Feb 04, 2010
Posts: 393
Location: Providence, RI
|
|
|
Back to top
|
|
 |
loydb
Joined: Feb 04, 2010
Posts: 393
Location: Providence, RI
|
 Posted: Sun Oct 17, 2010 12:05 pm Post subject: Posted: Sun Oct 17, 2010 12:05 pm Post subject:
|
  |
|
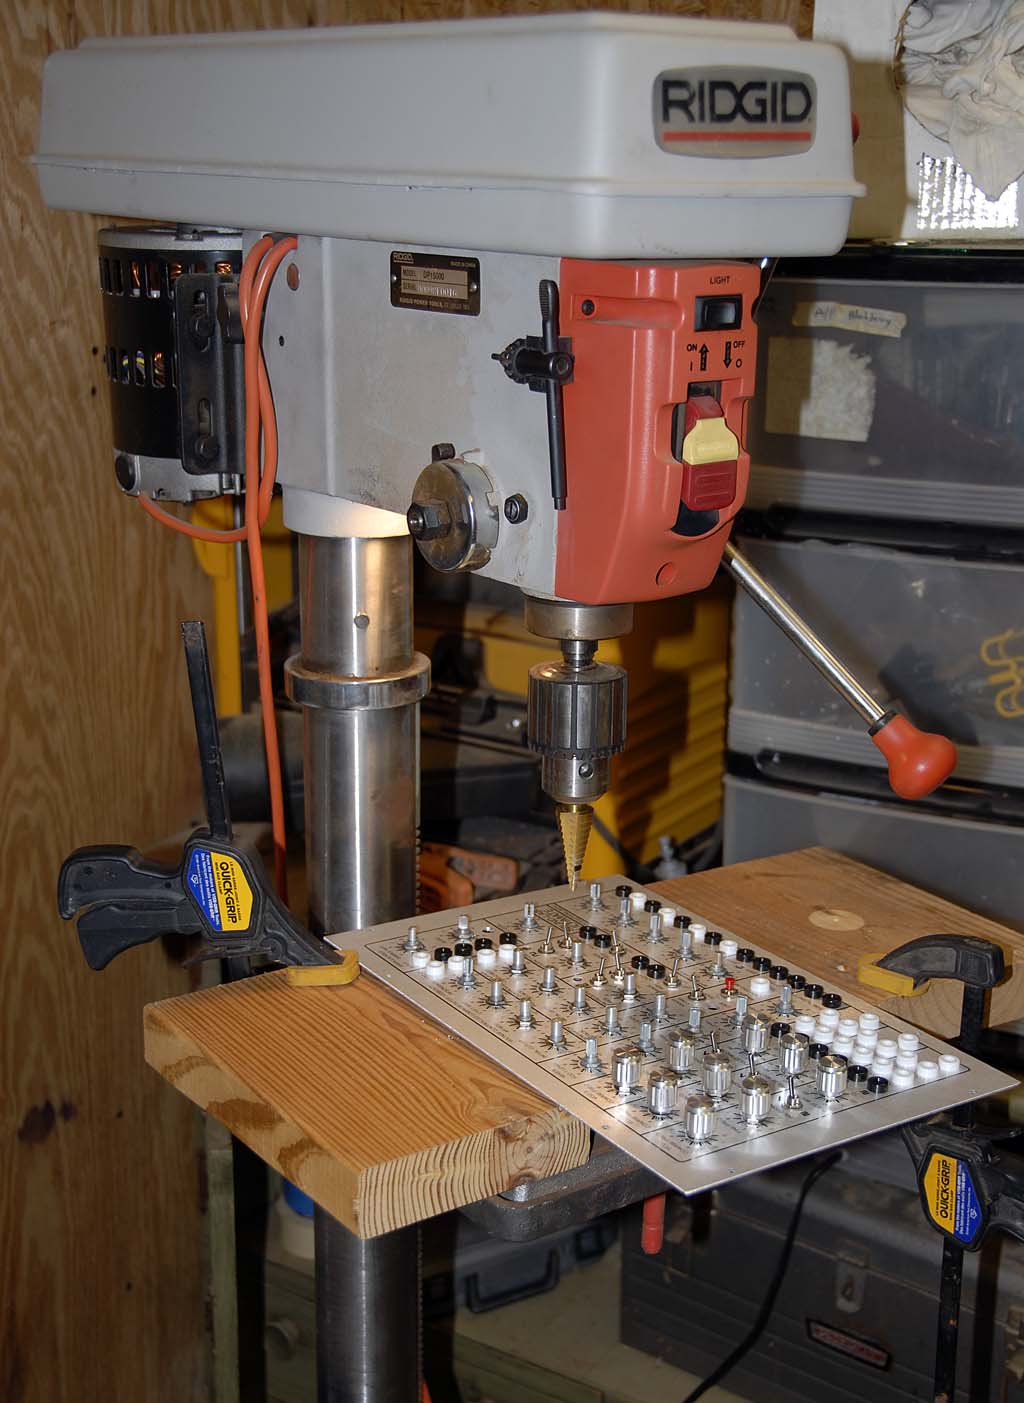
So, the time to notice that your LED bezels are too big for the holes in the panel is *not* when they're the last bits you need to install  A little careful work with a stepped drillbit and they mounted fine... A little careful work with a stepped drillbit and they mounted fine...
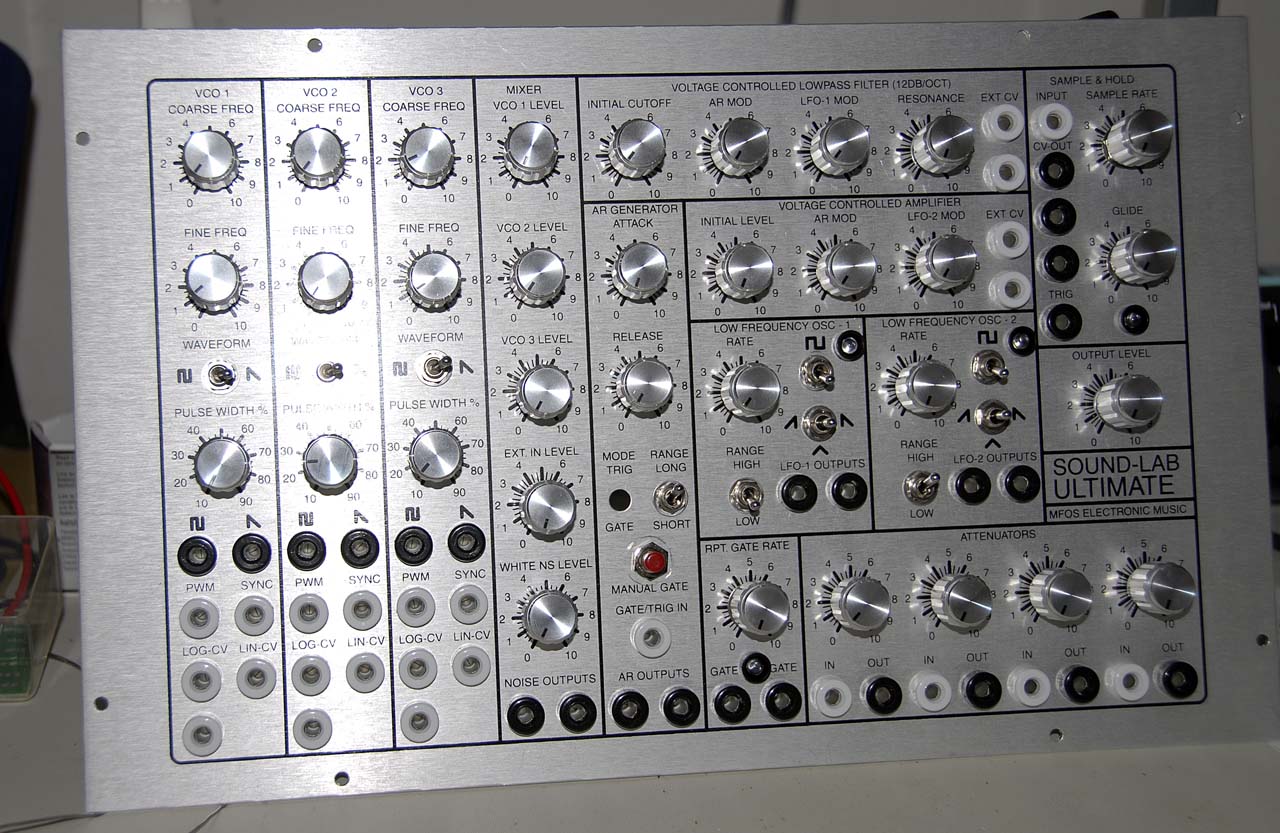
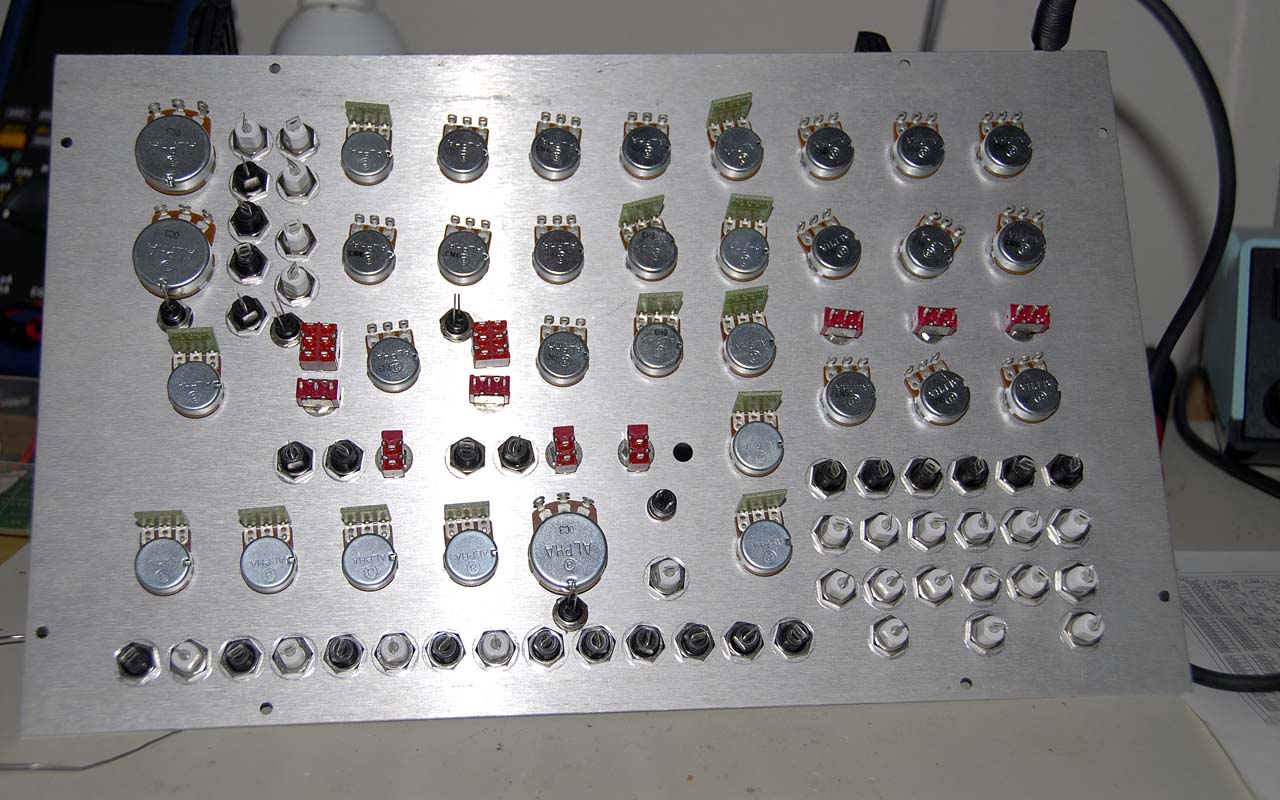
The front panel is stuffed except for one switch. Apparently I used my only DPST switch somewhere else. I need to do a mouser order anyway...
_________________
MFOS Ultimate Expand-o-tron Build Log: http://www.electro-music.com/forum/post-308797.html#308797
MFOS Mini-Controller Build Log [FINISHED!]: http://www.electro-music.com/forum/topic-42968.html |
|
|
Back to top
|
|
 |
loydb
Joined: Feb 04, 2010
Posts: 393
Location: Providence, RI
|
 Posted: Mon Oct 25, 2010 5:54 pm Post subject: Posted: Mon Oct 25, 2010 5:54 pm Post subject:
|
  |
|
Pretty much all of my time for the last week+ has gone into making my flamework studio habitable. I finally finished off the ventilation work, and can start melting stuff again (which will let me finish the mini-controller project at last).
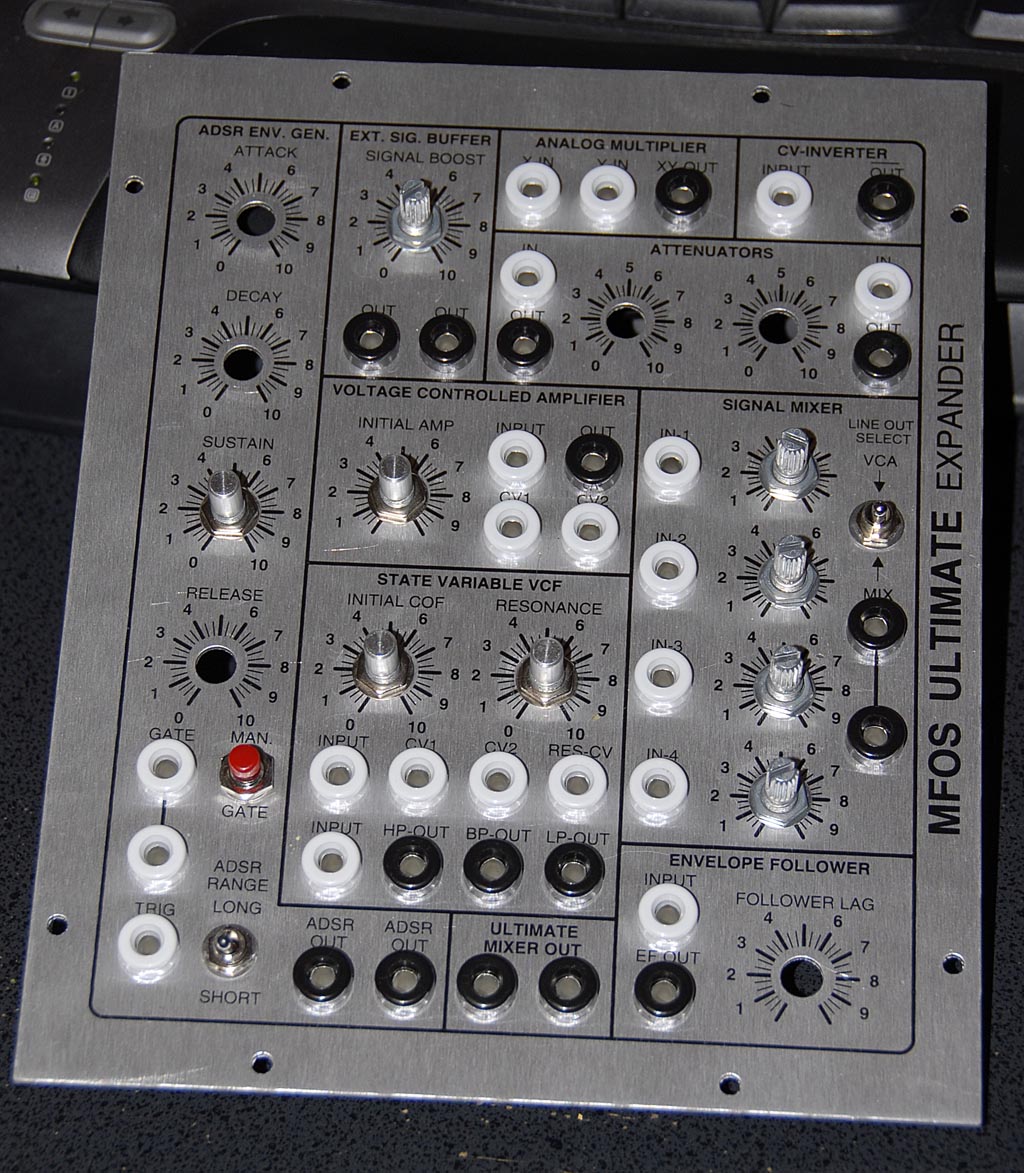
Still, I spent some time working on the Expander front panel -- I'm going to have to make a Mouser order for some missing parts for the Ultimate, I figured I should try and get some idea of everything I need. It turned out to be a good call, as you can see by the empty spots on the panel 
_________________
MFOS Ultimate Expand-o-tron Build Log: http://www.electro-music.com/forum/post-308797.html#308797
MFOS Mini-Controller Build Log [FINISHED!]: http://www.electro-music.com/forum/topic-42968.html |
|
|
Back to top
|
|
 |
Skrog Productions

Joined: Jan 07, 2009
Posts: 1224
Location: Scottish Borders
Audio files: 160
|
 Posted: Sat Oct 30, 2010 12:24 am Post subject: Posted: Sat Oct 30, 2010 12:24 am Post subject:
|
  |
|
Wow , looking fantastic , it certianly helps to have a wood / metal workshop at hand for doing synth construction , a pillar drill is essential for me  , nice neat job with the components on the boards . , nice neat job with the components on the boards .
look forward to seeing the complete unit.
Great job so far.
Dave |
|
|
Back to top
|
|
 |
|


